Home + motherhood
Home + motherhood
Tracy
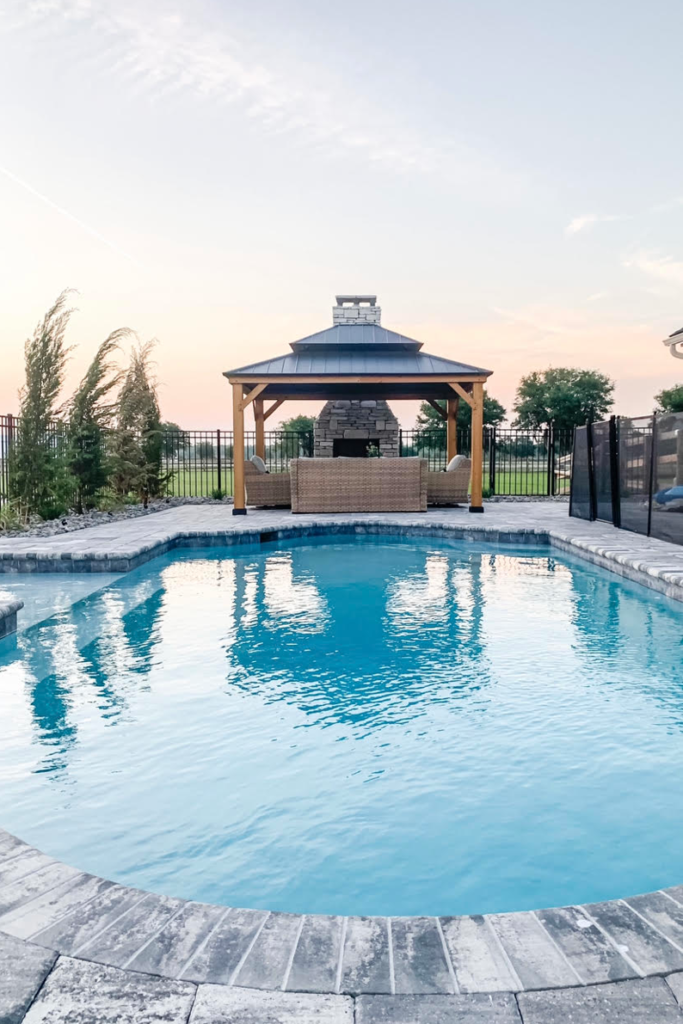
Here at the ranch, we love spending time outdoors. Our latest big project was creating a beautiful outdoor oasis thanks to Sunjoy Group. We were gifted the 12 ft x 10 ft Cedar Frame Gazebo which you can find here. My husband and I put together the whole thing ourselves over a 2 day period (took about 10 hours total). I thought I would share a behind the scenes look at how we did it!
Disclaimer: This post contains affiliate links, which means I may earn a small commission if you use my links. I appreciate your support when you use my links!
Step 1: Read through the instructions.
Step 2: Assemble the beams with the hardware provided.
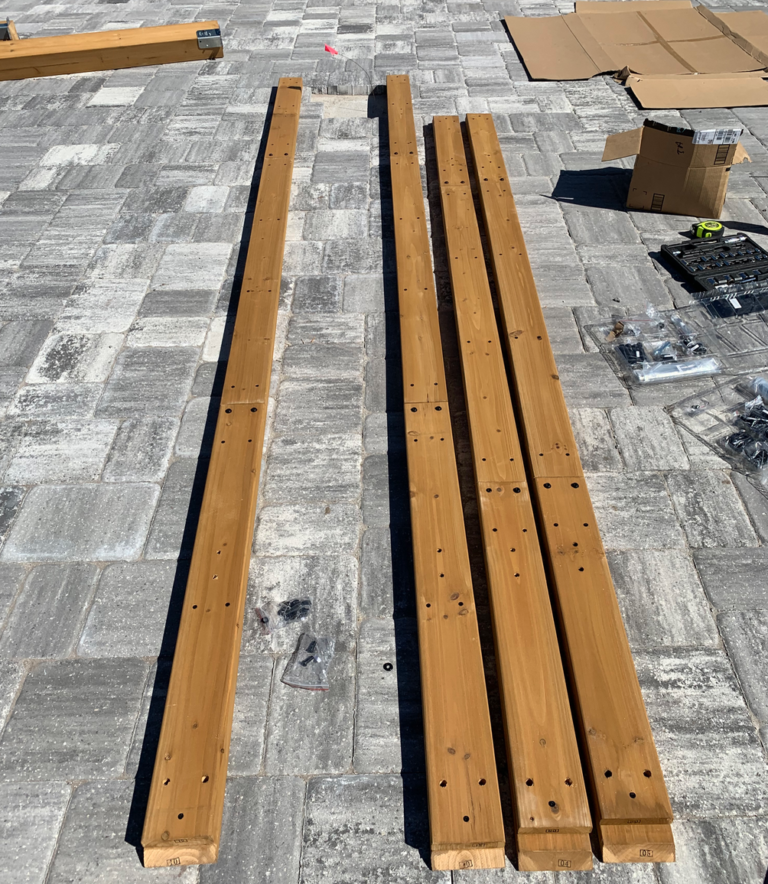
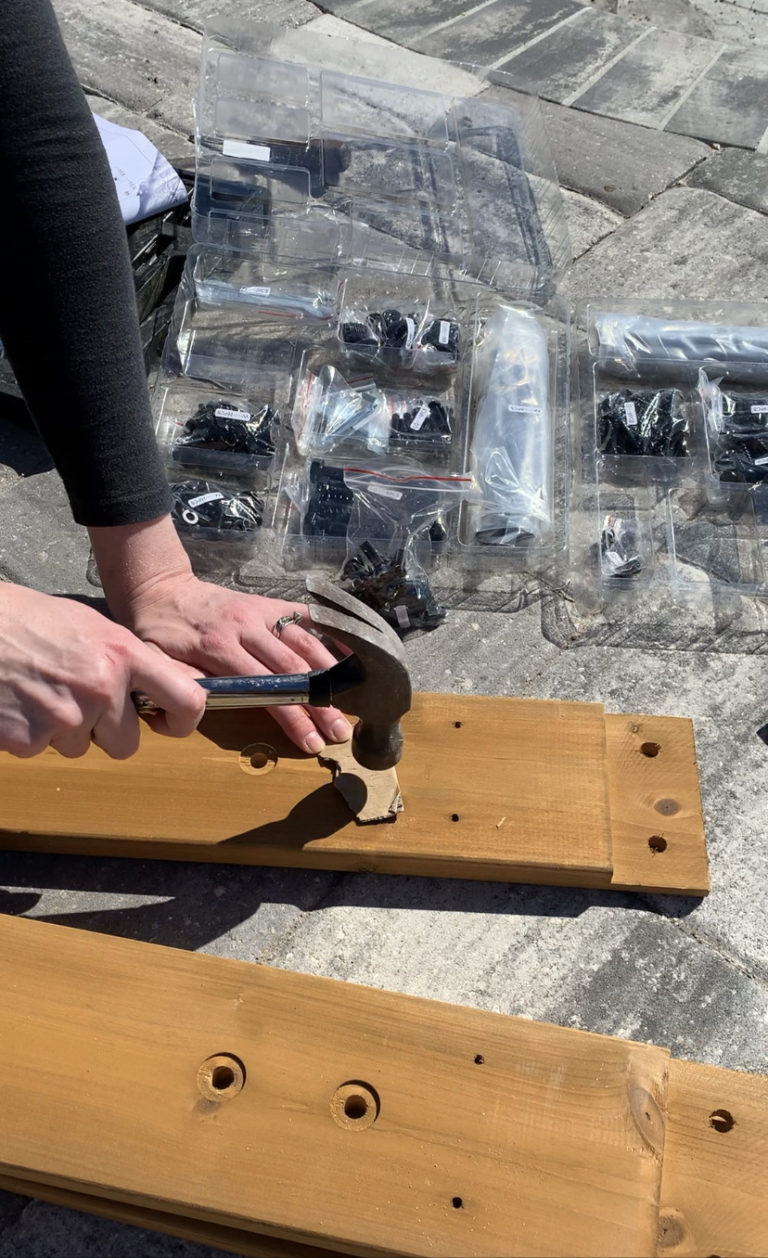
Step 3: Attach beams to post and move to the final location. Note: Pending the type of material you will be using, how you anchor the posts will differ. We had pavers, so below the pavers we had concrete footers poured so we could screw the posts into the concrete. Make sure to use a level before securing posts to ensure your beams and post are straight.
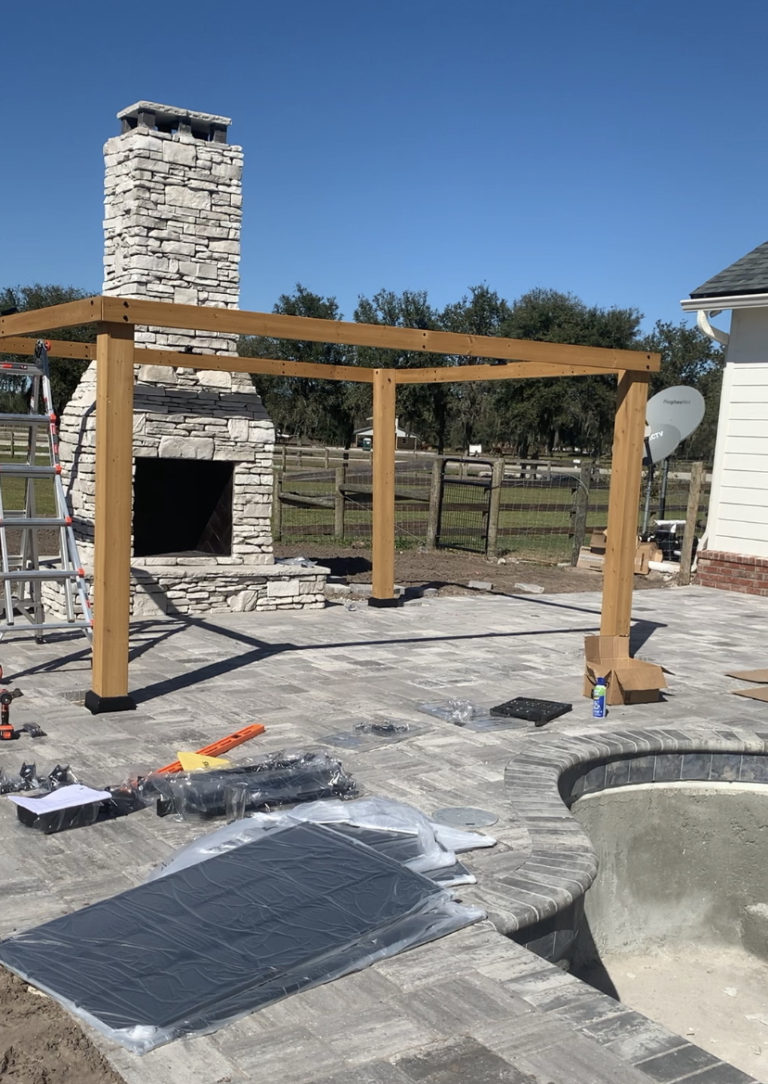
Step 4: Attach the corner wood anchor pieces.
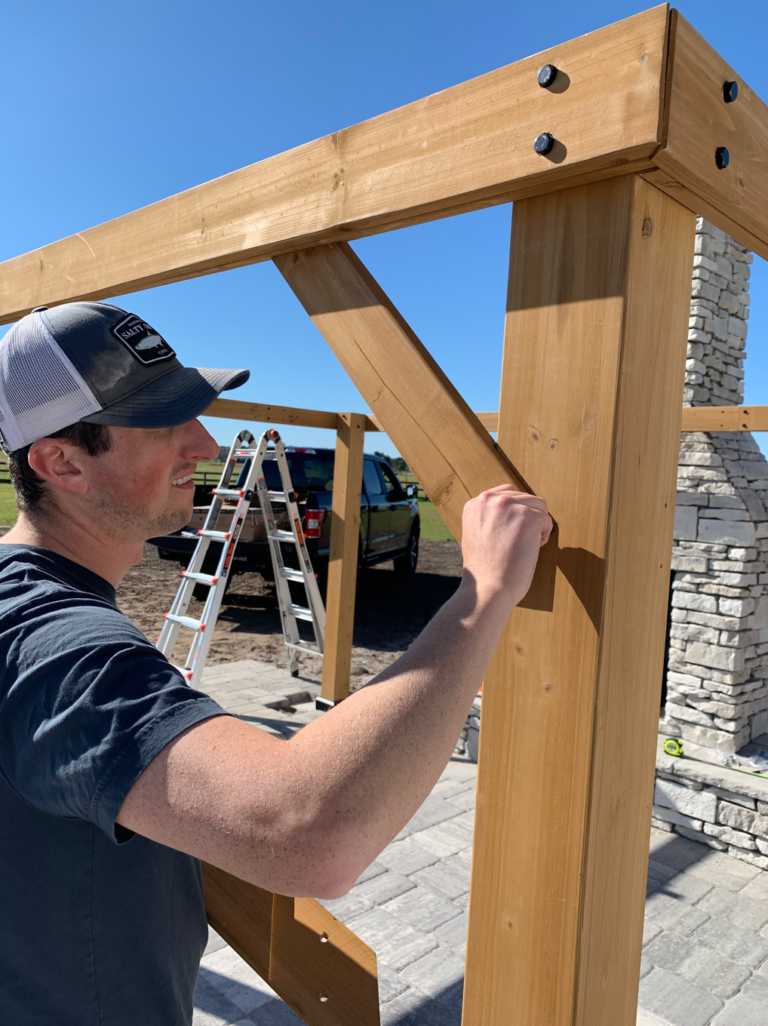
Step 5: Start the roof assembly continuing to follow the instructions.
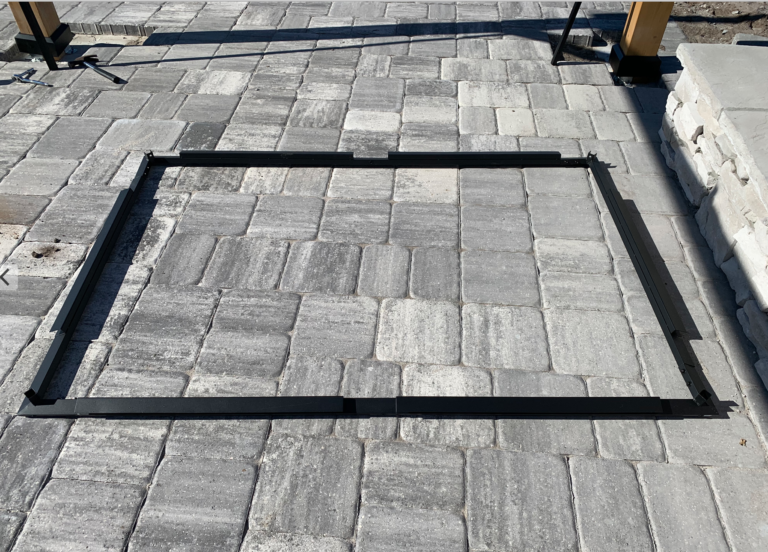
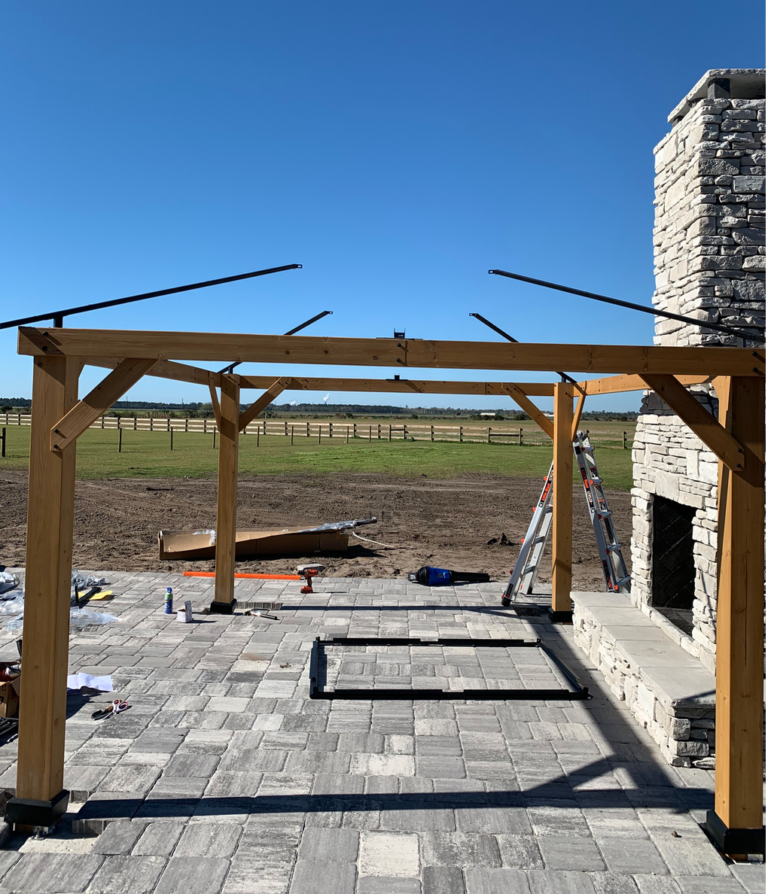
Step 6: Continue the framing of the roof before adding the panels.
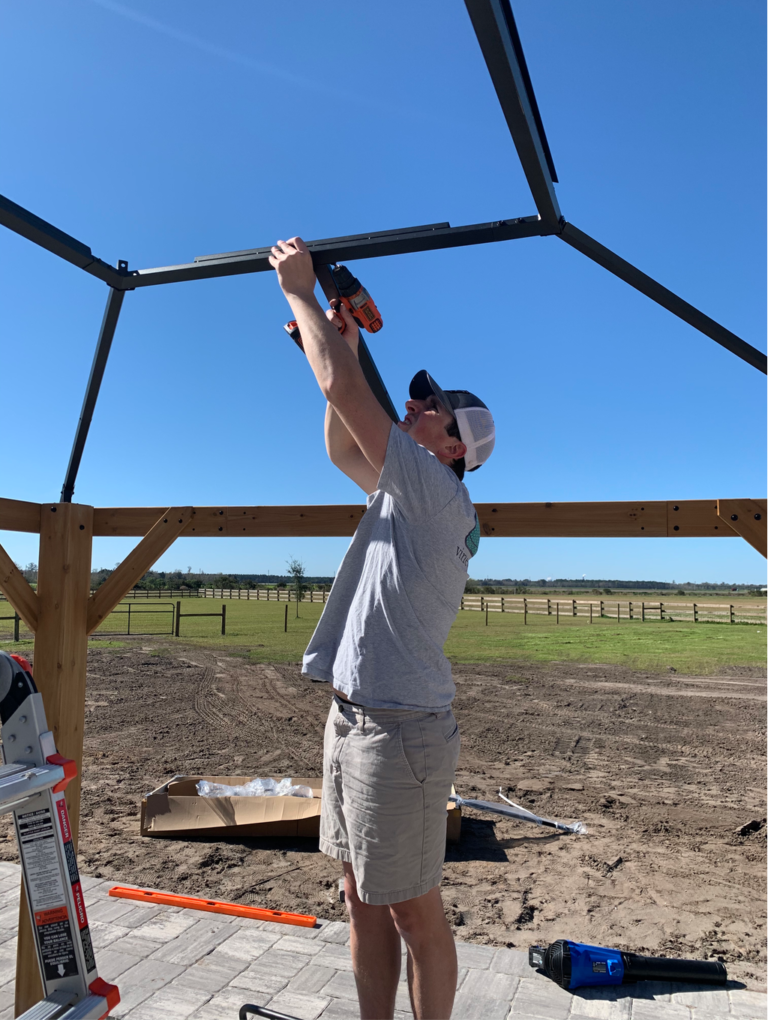
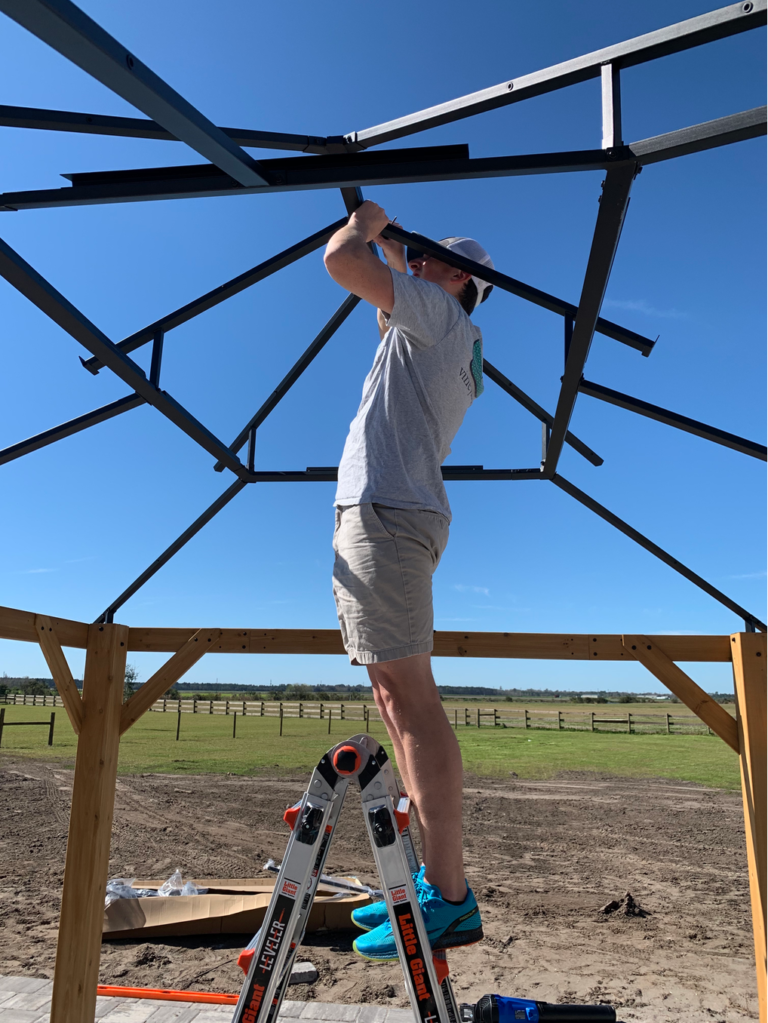
Step 7: Start attaching the panels for the top layer of the roof and then work your way around to the lower layer.
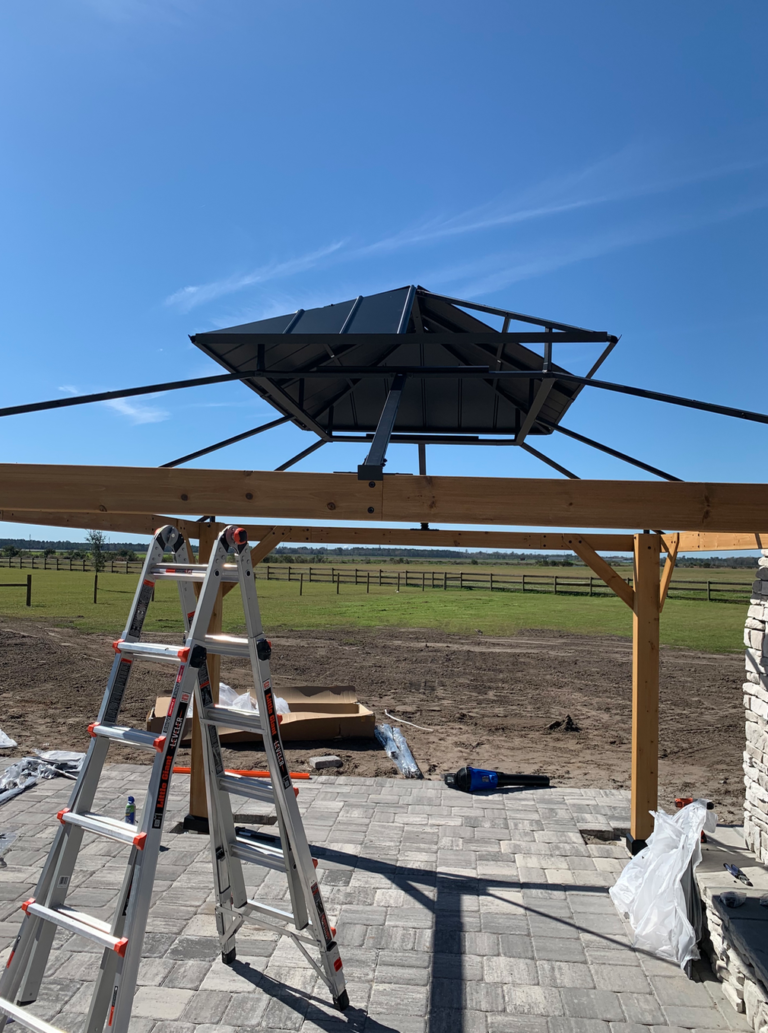
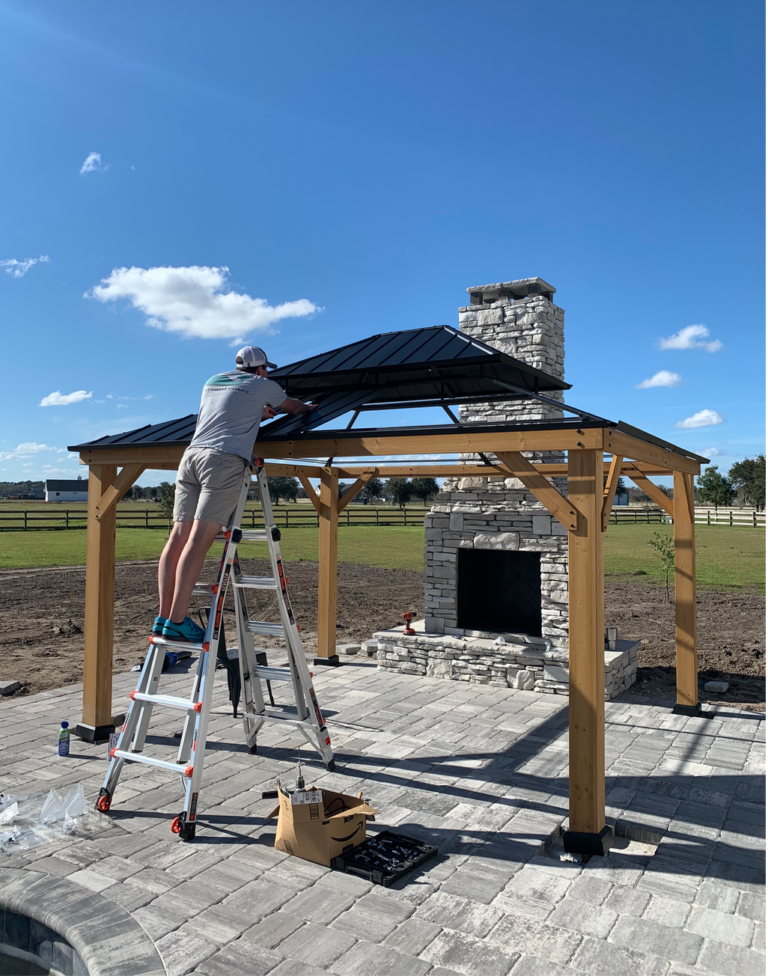
Step 8: Add the trim pieces to secure the roof panels. We are getting so close!
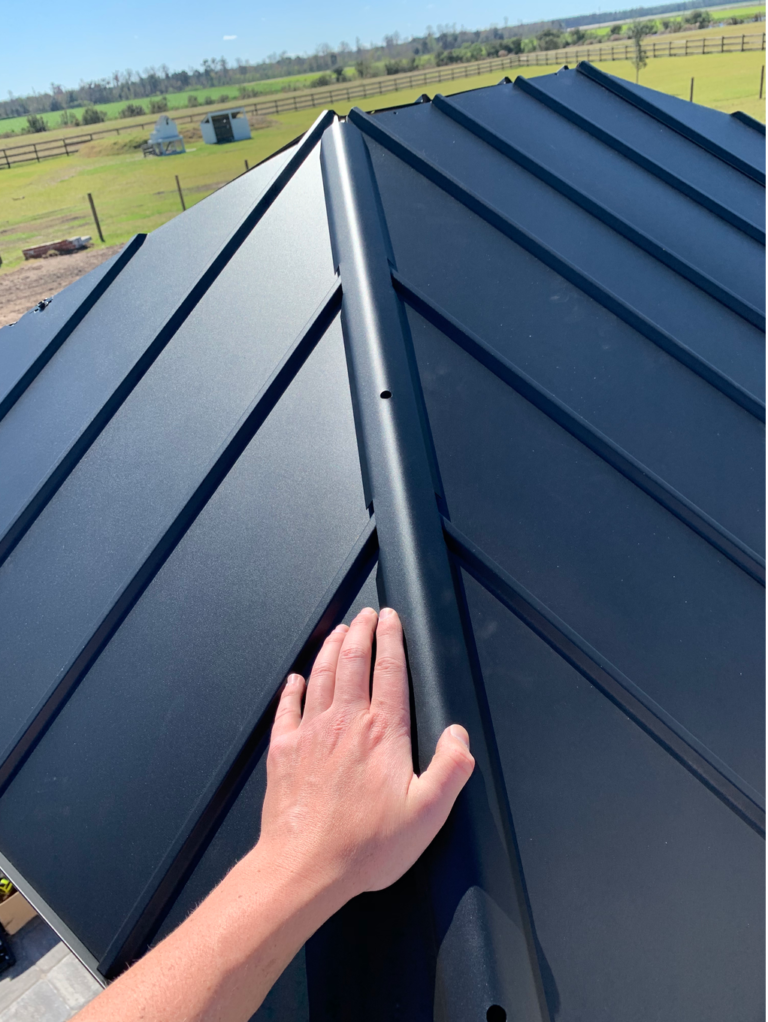
Step 9: Enjoy your beautiful new gazebo!
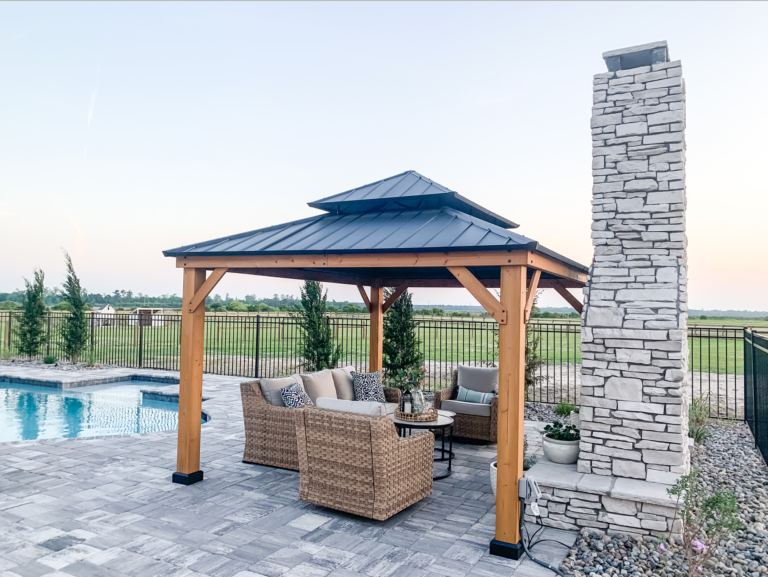
We could not be happier with how this gazebo turned out! The entire process was made easy and simple with clear directions that it only took the two of us to assemble over a weekend. I love the modern farmhouse vibes that the gazebo has. Plus, there are 2 built in rods on the inside that make it easy to hang curtains or lights. There is even a hook for an outdoor light or chandelier in the middle of the roof. If you have any questions on the install process leave a comment below!
