Home + motherhood
Home + motherhood
Tracy
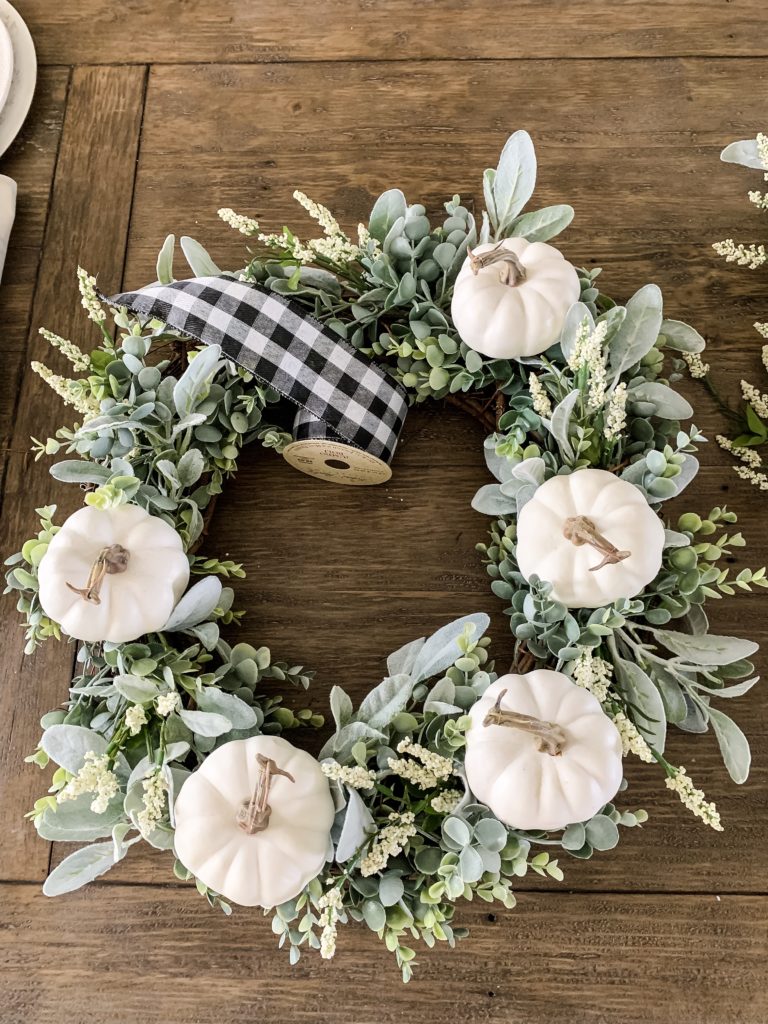
Cooler weather always gets me in the mood for some crafting! On the blog today, I’ll show you how to make this easy DIY fall wreath perfect for fall decor!
*This post contains affiliate links, thanks for your support in keeping Remington Ranch up and running!
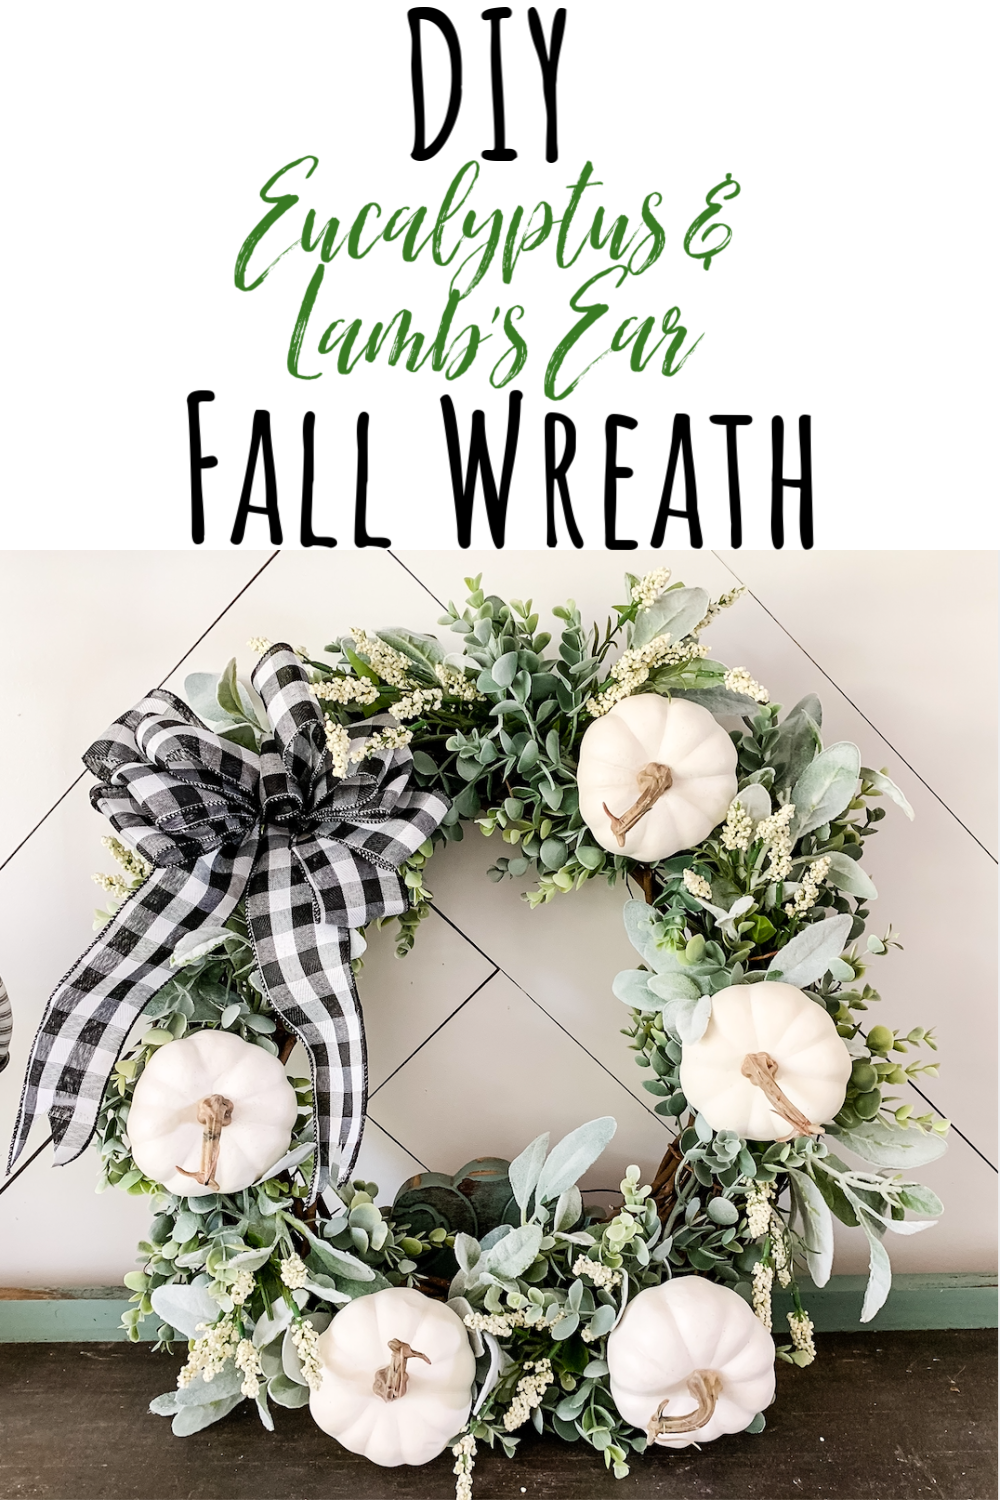
Here’s what you need to make your wreath:
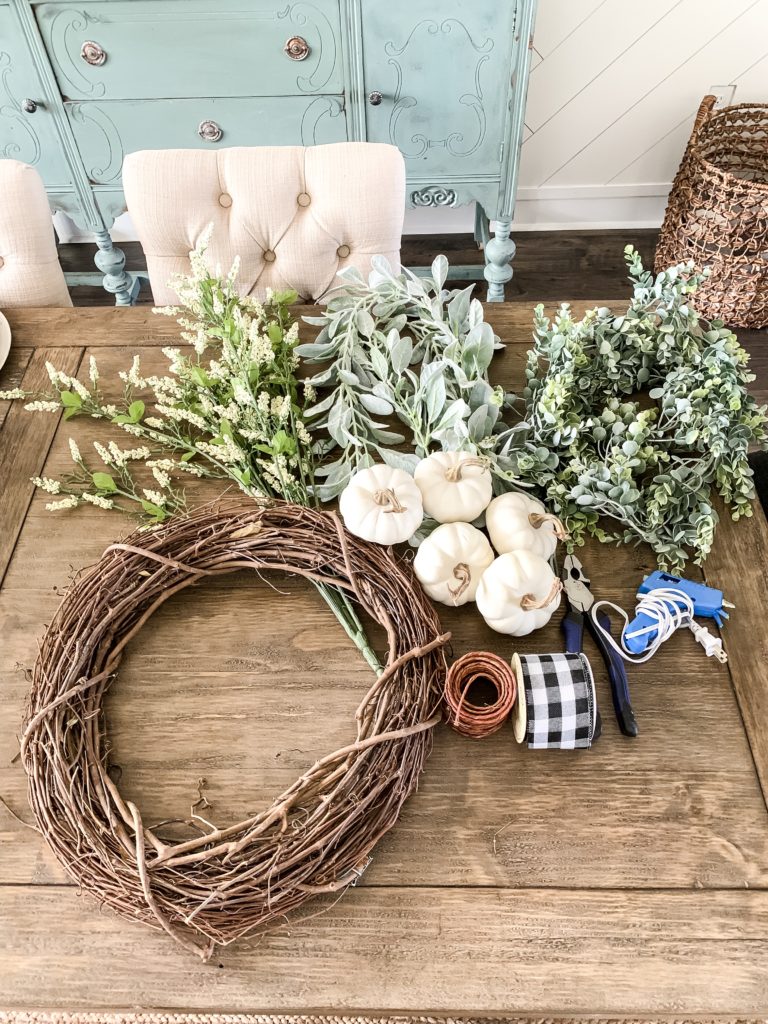
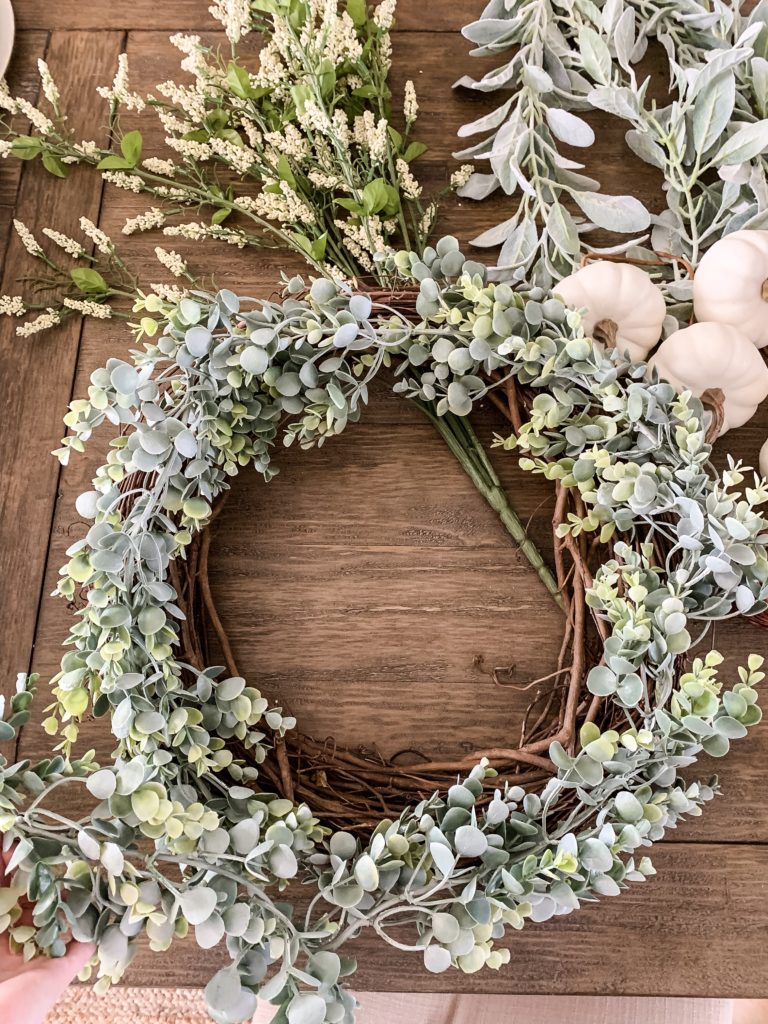
To start, you’ll take your eucalyptus garland and lay it on top of the wreath. Mine had some overhang, so I clipped it with the wire clippers. Save this piece if you need to fill in anywhere or to sprinkle around your home!
Take your floral wire. Using your wire cutters, cut six ~8″ strips. This is what you will use to secure your greens to the wreath.
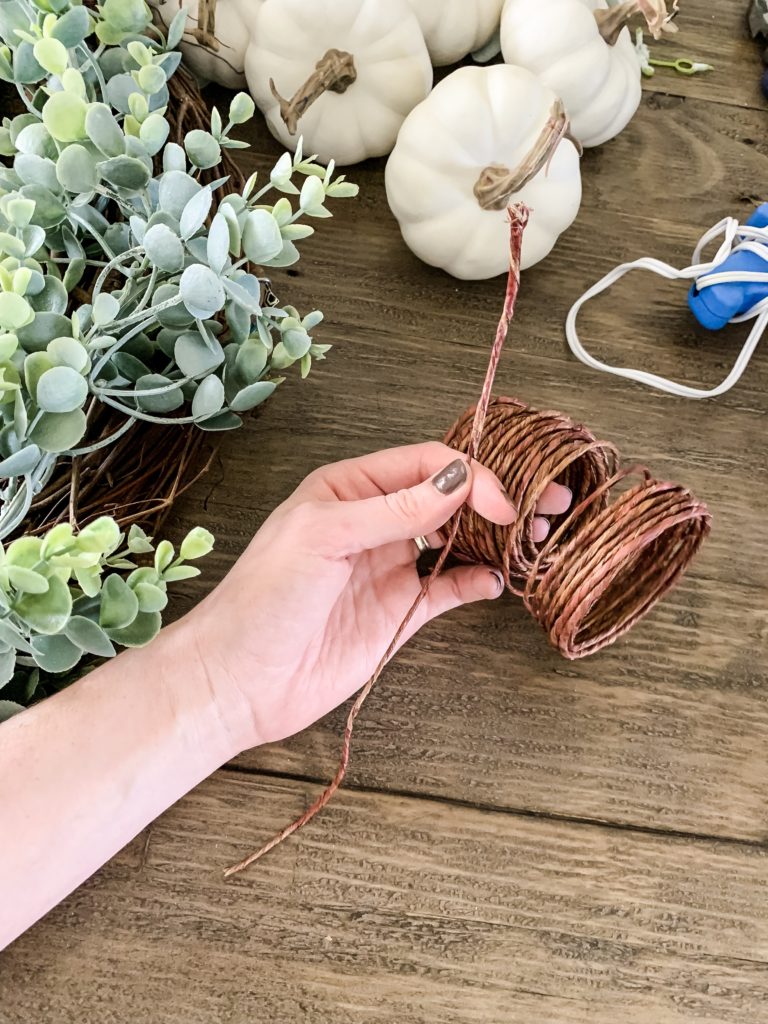
Then wrap the floral wire around the garland and wreath to secure it, evenly spacing it around the entire wreath.
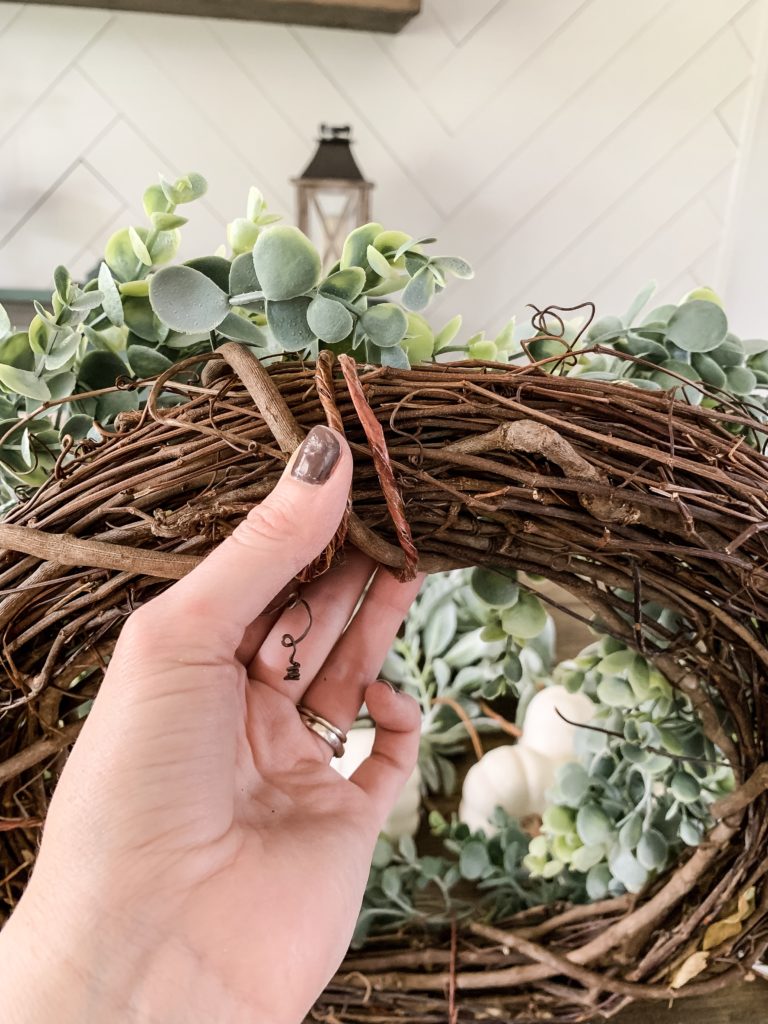
The wreath will now look like this with the eucalyptus garland secured.
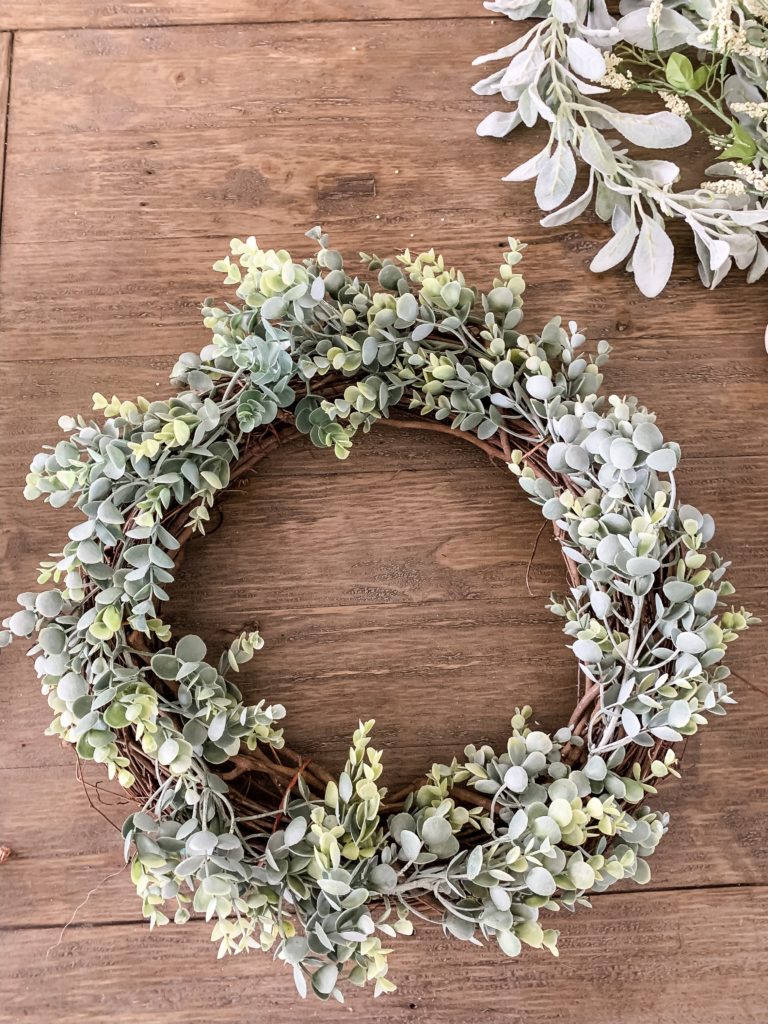
Now you will take your lamb’s ear garland or stems. If in garland form, use your wire cutters to cut it up into smaller stems. You’ll add these in to help fill in the wreath, tucking them into the grape vines or into the floral wire securely. I found that alternating direction of the stems looked the best.
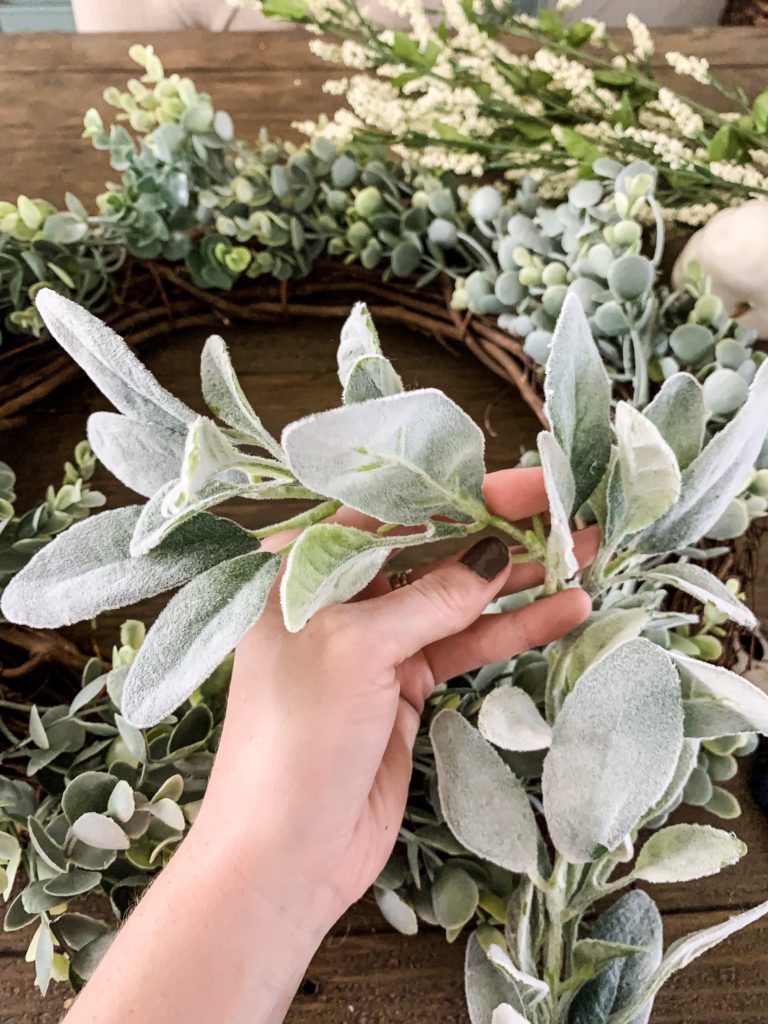
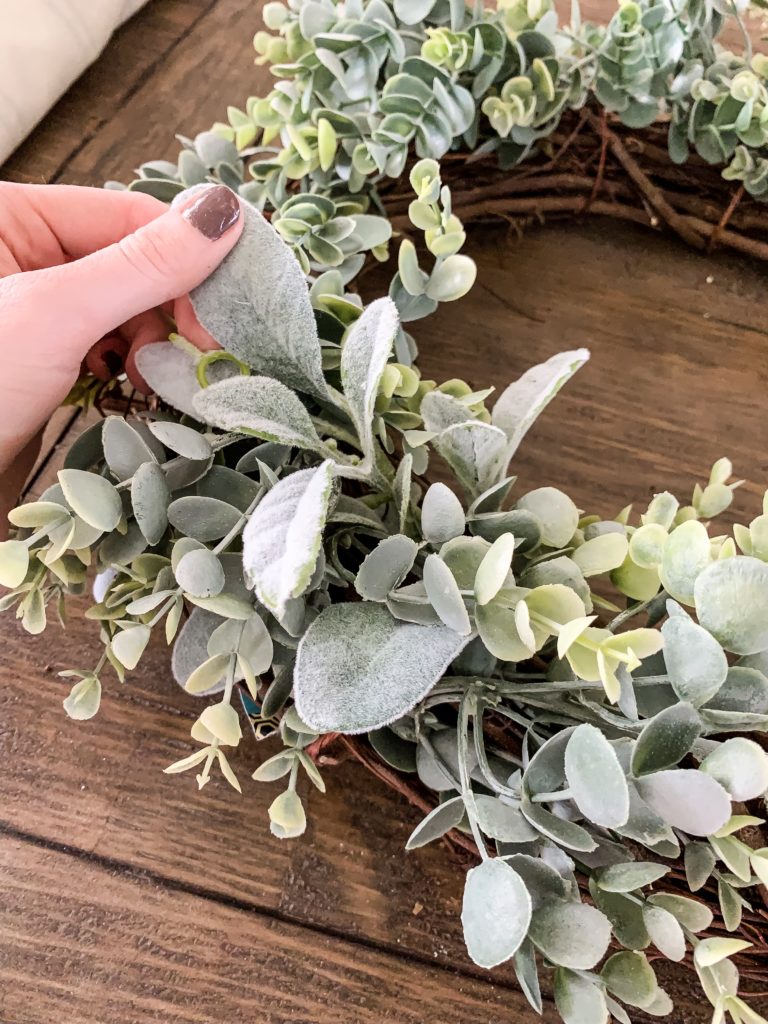
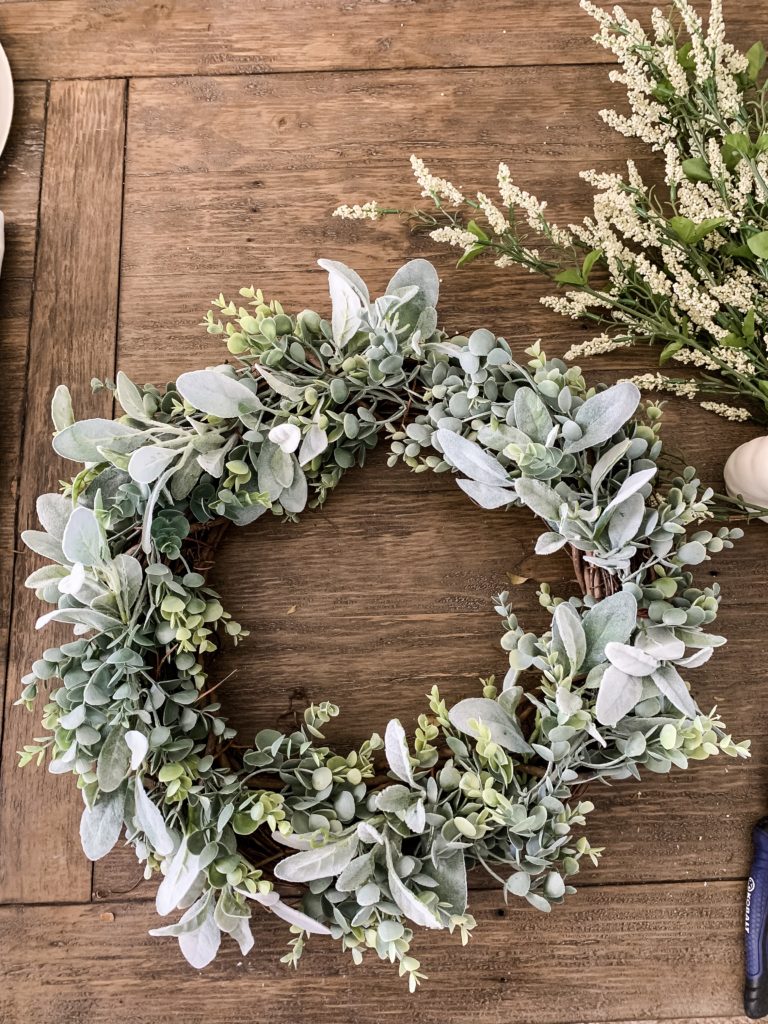
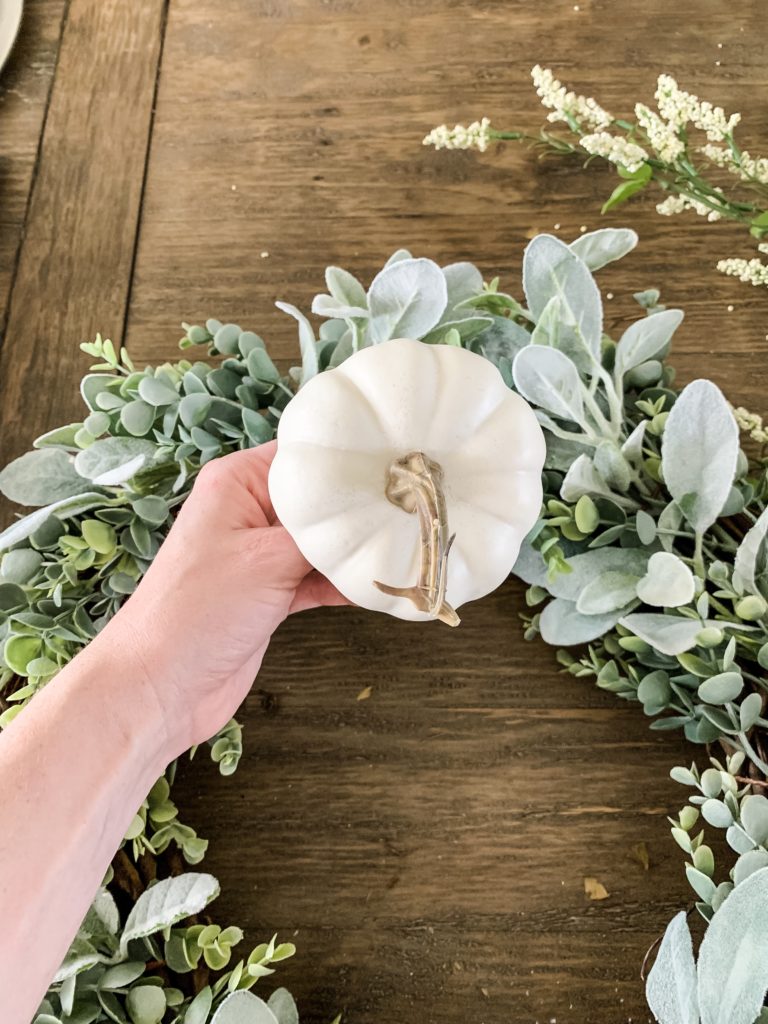
It’s looking so cute already! Now you will add your white pumpkin picks in, tucking the picks into the grapevine wreath. Space it evenly around, except leave a larger space where you want to put your ribbon.
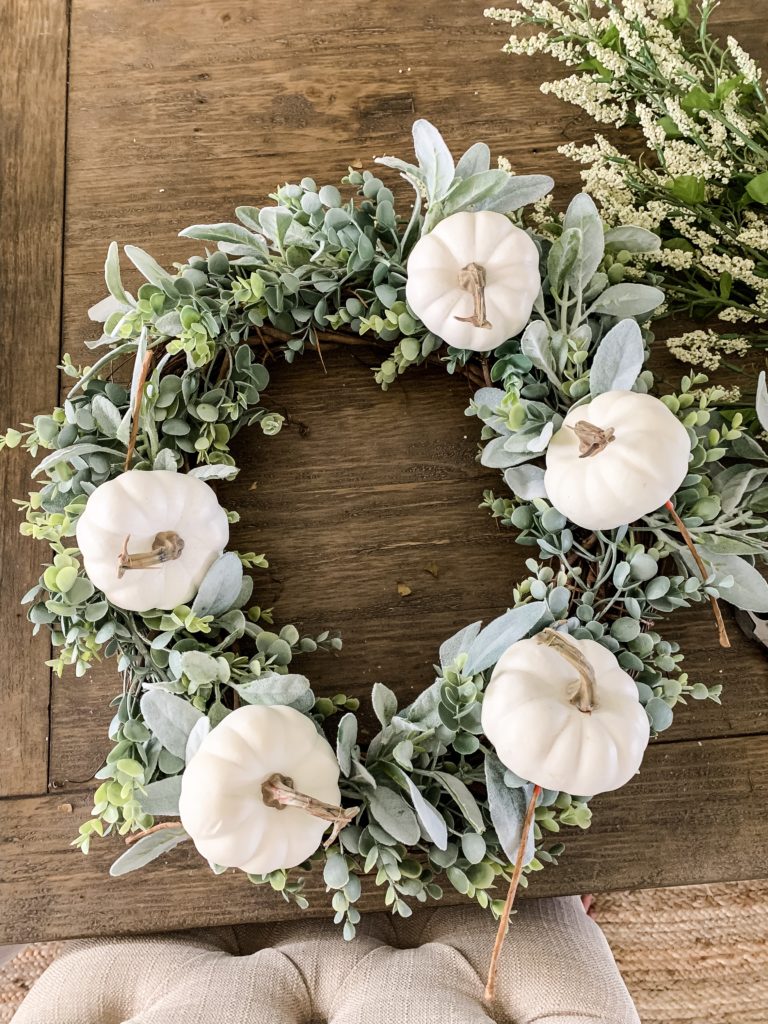
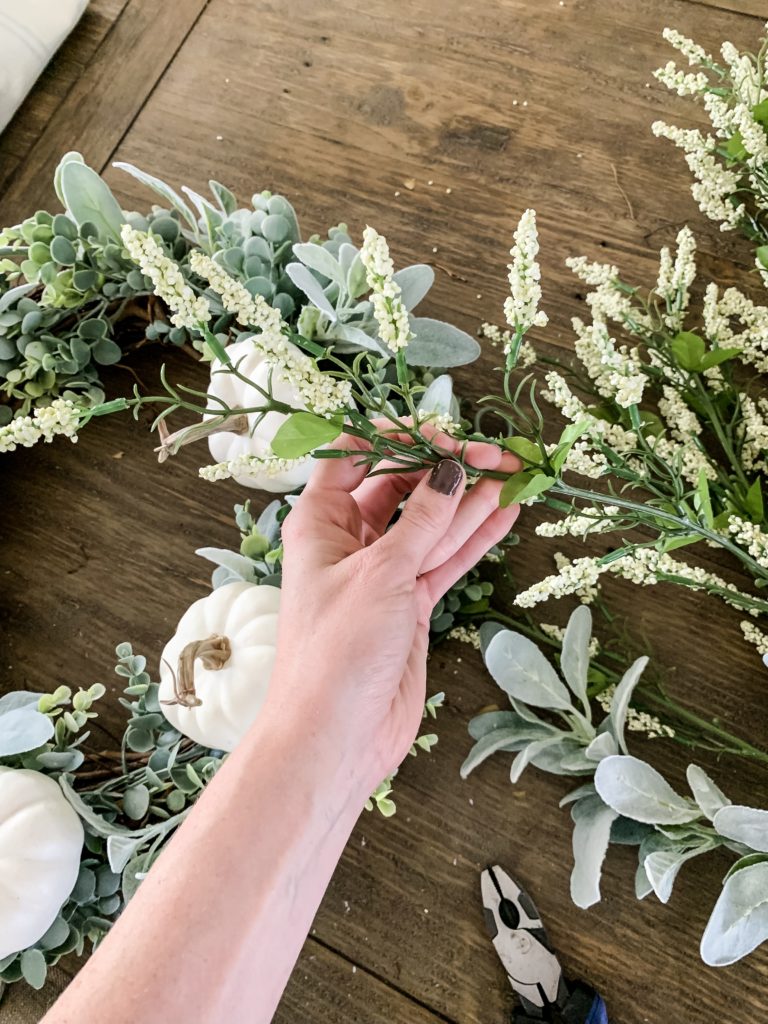
Now take your white floral stems, or whichever accent florals you found. Trim them to smaller stems and add them in around the pumpkins alternating direction of stem.
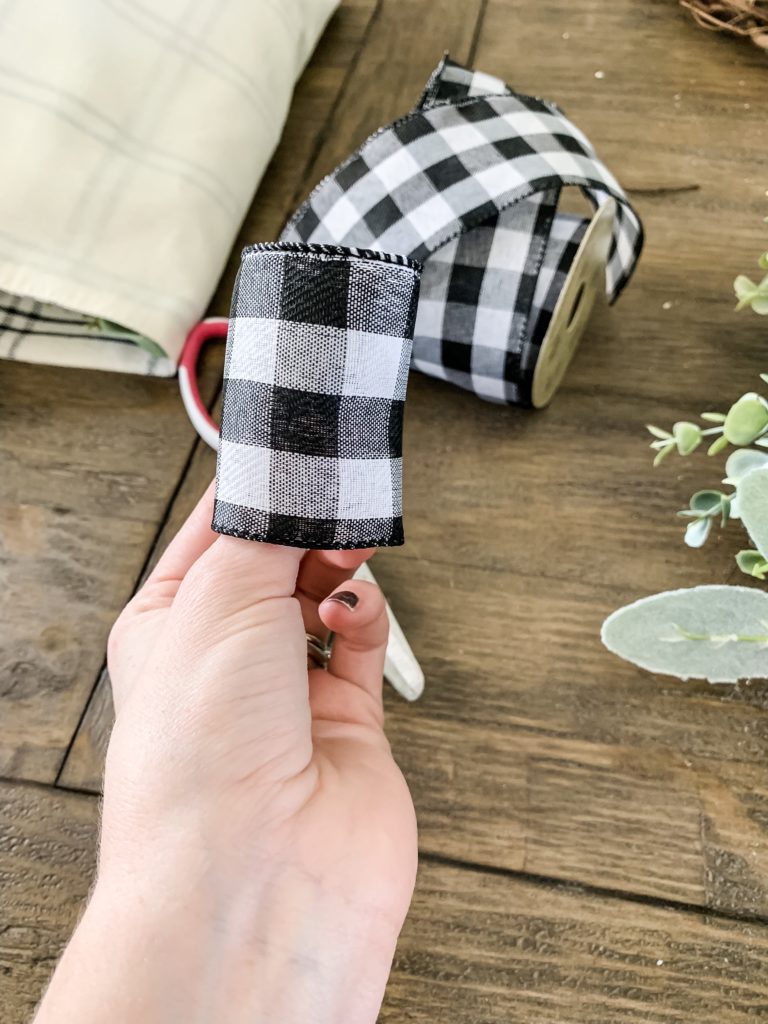
Now it’s time to make the bow! Grab your ribbon, cut a 3.5″-4″ strip. Make a loop as shown and hot glue the seam together. This will be the center of your bow.
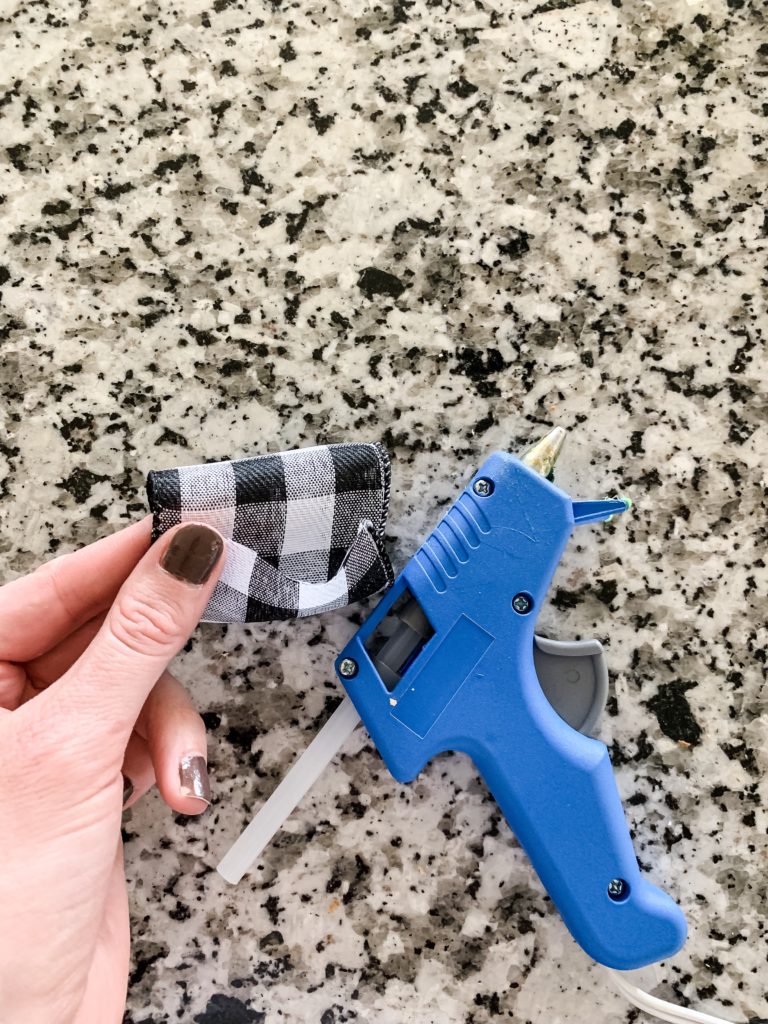
Now you’re going to make a larger loop from ribbon still attached to the roll. You can choose whatever length you want as this is how wide the bow will be. Mine was ~8″ wide. Hot glue the seam to the back of the ribbon so it stays looped. You will then keep making loops so that when you turn it to the side, you have 5 loops on each side when holding the ribbon in the middle as shown.
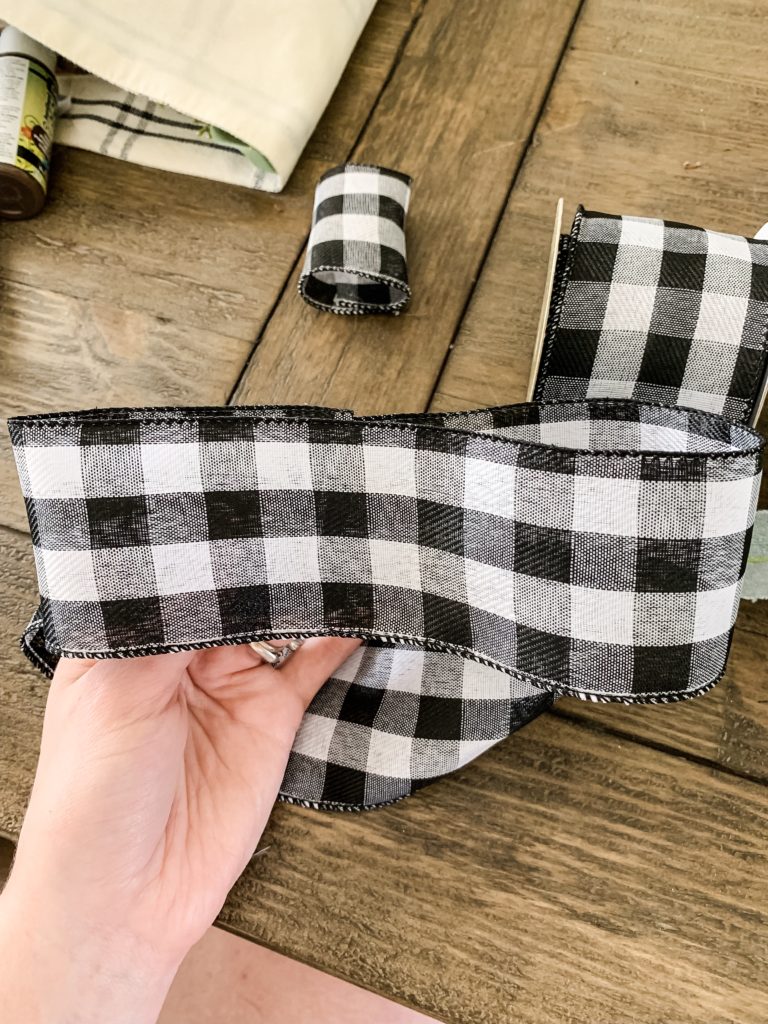
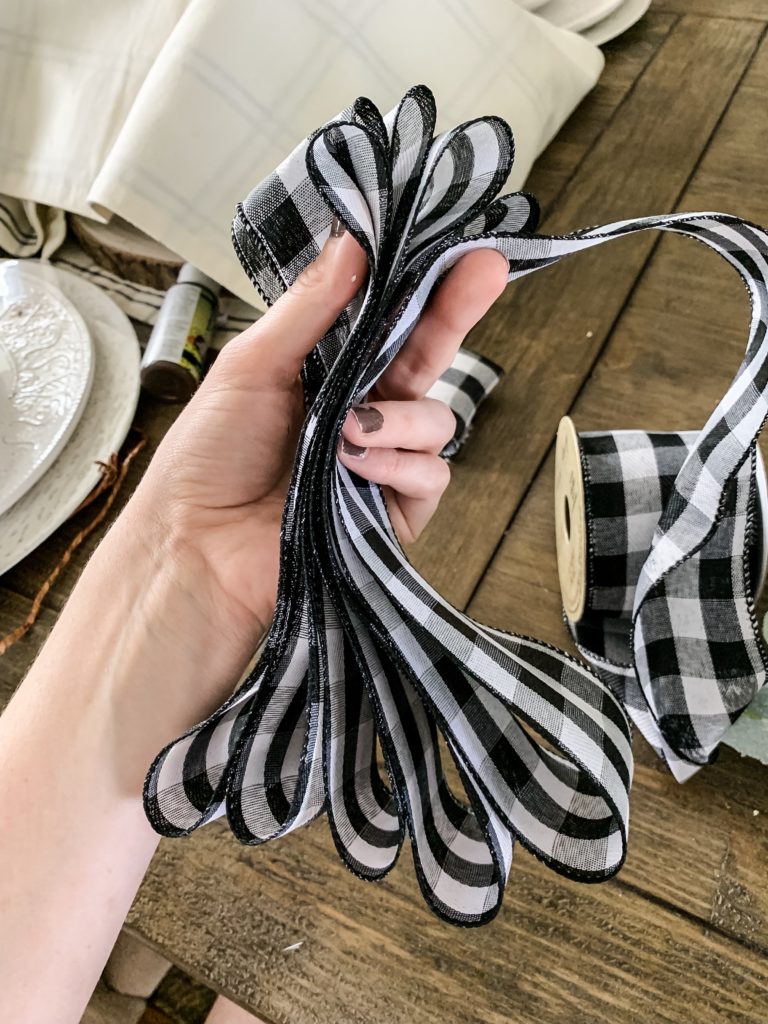
As you’re making your final loop, bring the tail of the ribbon and fold over as shown. Hot glue it to the back of the loops of ribbon.
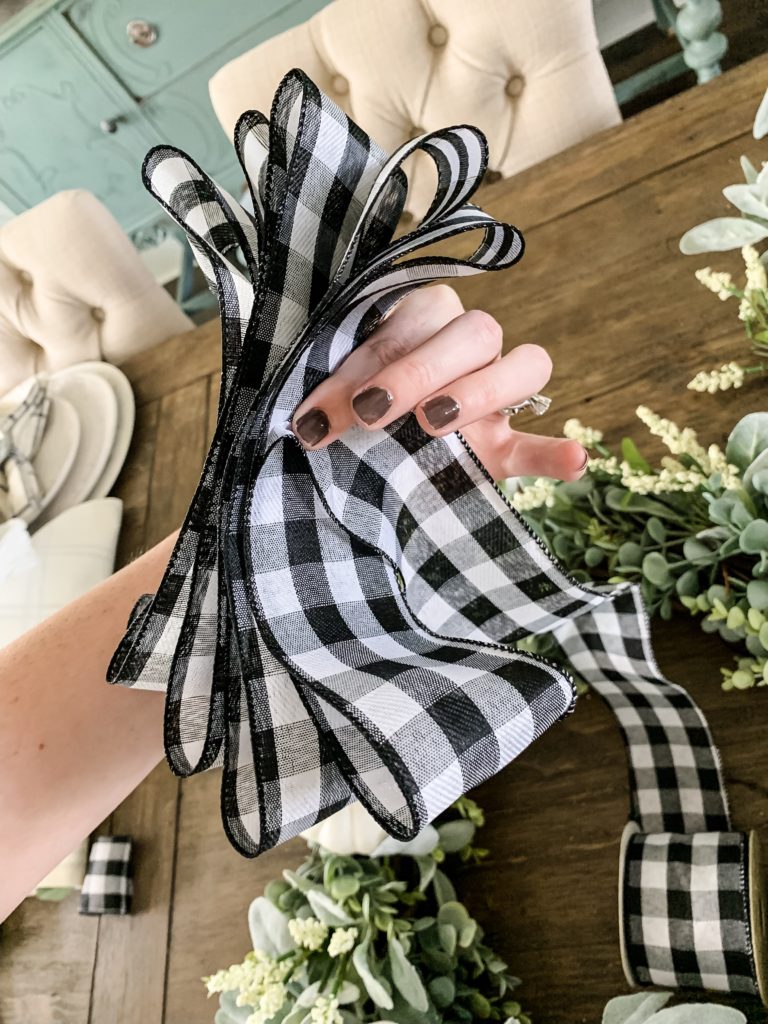
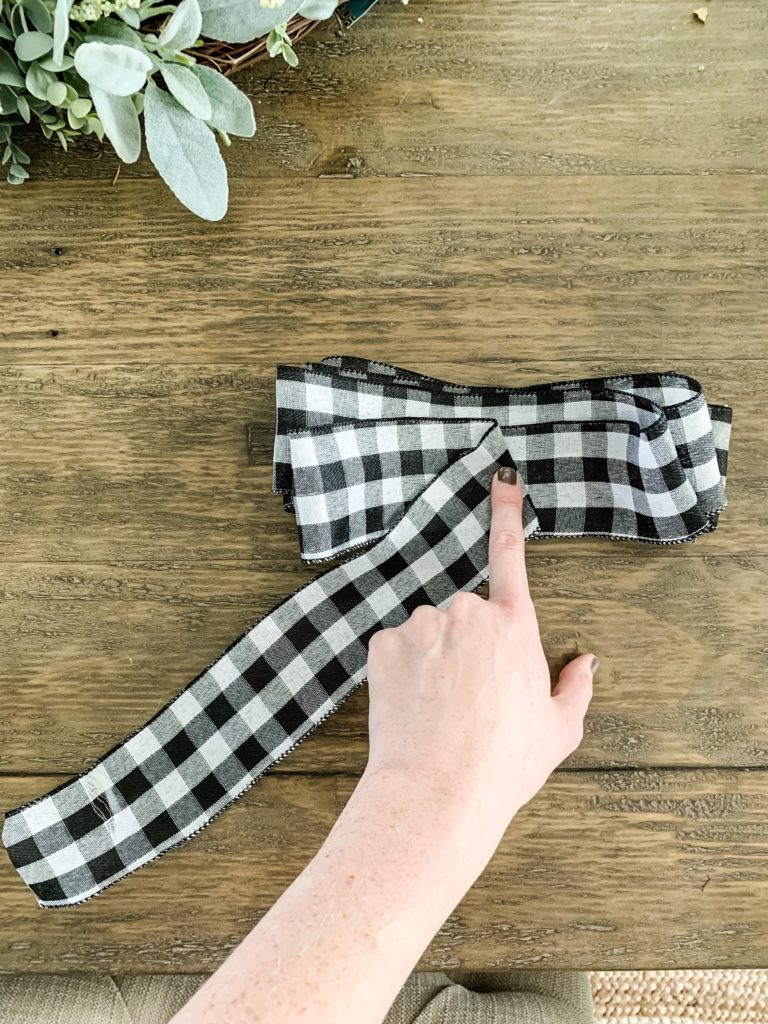
Next you will cut a piece of floral wire, grab your small loop of ribbon and thread/twist the floral wire as pictured. Cut a second tail of ribbon and hot glue it to the back.
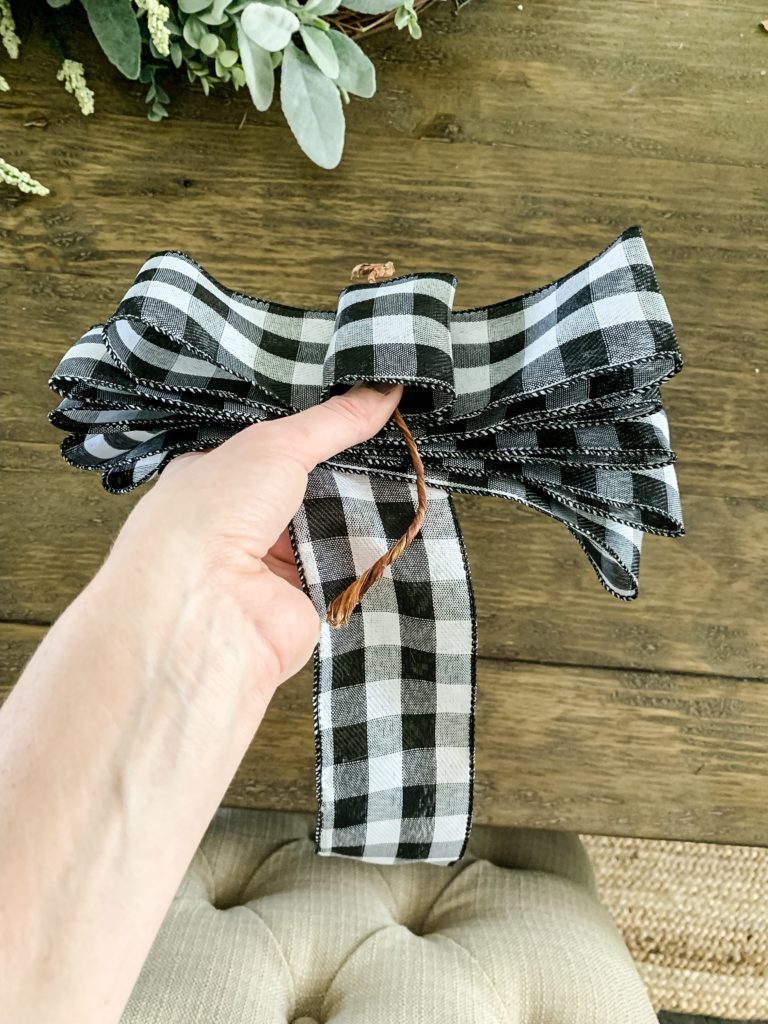
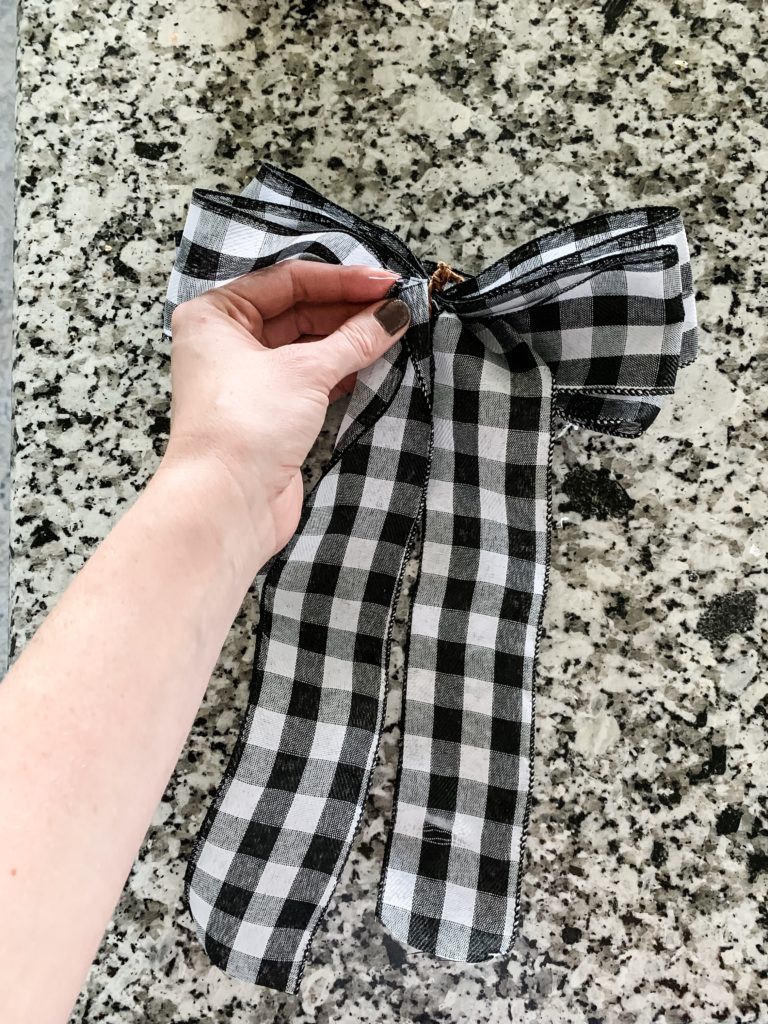
Now fluff out the loops and cut one more floral wire strip which you will use to thread the back of the bow to the wreath.
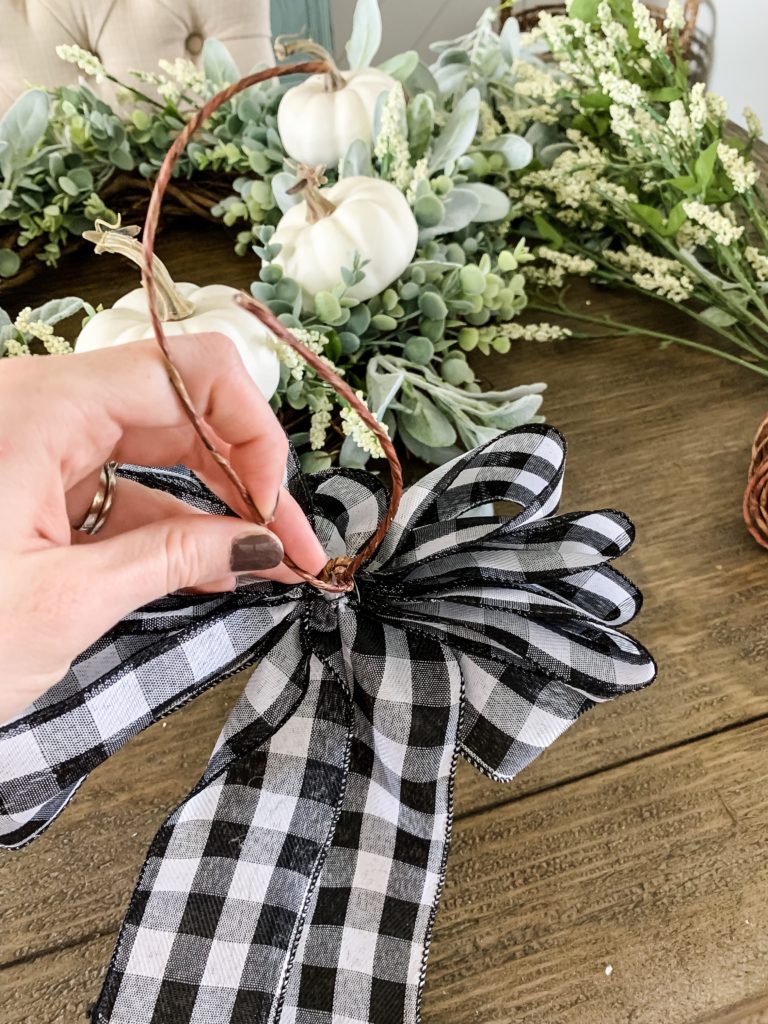
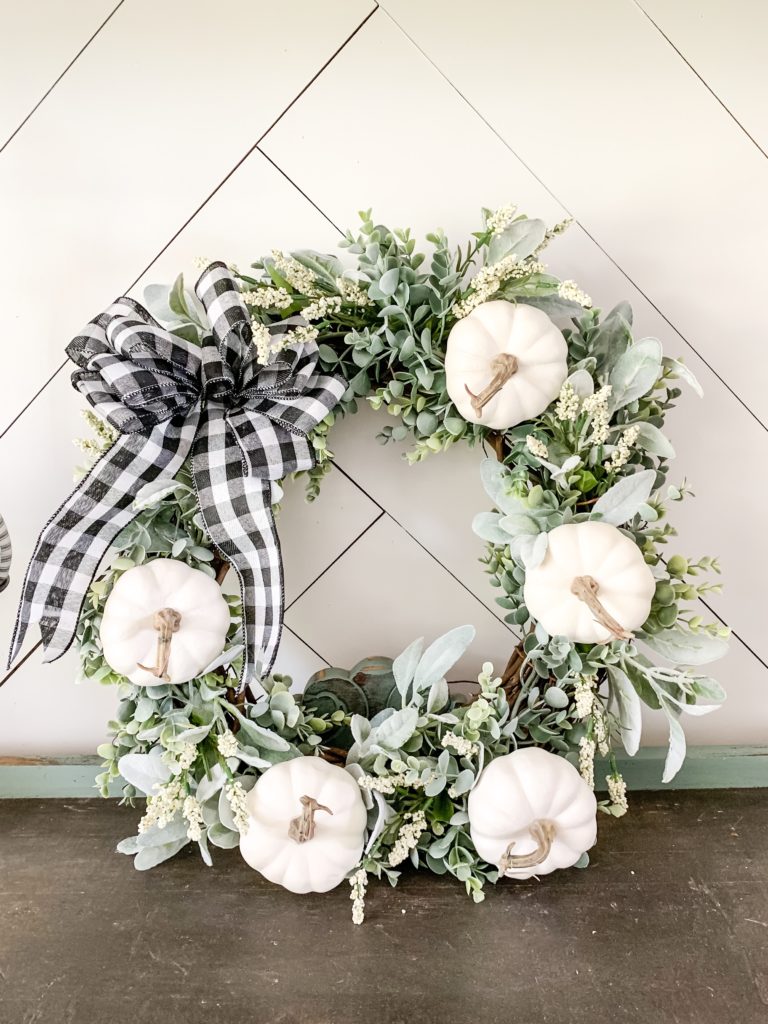
And that’s it! You can use this method to create a wreath for each season. Hope you enjoyed learning how to make this easy DIY fall wreath! Make sure to tag me in your wreaths on Instagram. Happy crafting! – xoxo Tracy
Love the tutoring class